Thursday, 31 March 2011

Tulips

 This one was a birthday present for my sister in law,  to go with the tiny tulip tile earrings she had bought from me already.

 And then I made a very simple tiny choker which was snapped up at my sale last Friday. Think I will have to make some more!

I've also had enquiries about making another set of cake forks, which I realise I haven't shown you, and worse I realise I didn't photograph! The first tulip set I made were for some dear friends who live in Holland as a wedding present and took hours so I am not quite sure about the price, I will have to make another one to work out the time it takes so I can cost them.

Sunday, 27 March 2011

Monkey cake

My little girl was 5 today! Can't believe she's so old, I don't know where the last 5 years have gone!

She wanted a monkey hunting party so we had great fun at her party making binoculars from toilet rolls, hunting for monkeys (pictures of them only but that didn't seem to disappoint the children too much), finding sticks for a fire and toasting marshmallows.

Off course she had to have a monkey cake and as I was short of time at the end of the week (had 2 jewellery sales) decided to make a polymer clay monkey to go on top of a fairly plain cake (any excuse to play with clay!)

Here's the cake at the party

We sang Happy Birthday again to Daisy at home with what was left of the cake!
I was really pleased with how my monkey turned out, until I baked him. He's solid Kato clay and as I turned the oven on I realised I would of been better giving him a tin foil core or something similar as the clay was very thick! Needless to say he cracked. I was distraught until I stepped back and realised it didn't really show. I still think the cracking is often to do with lack of support but also wonder if it's to do with how on a thicker bit of clay the outside is cured whilst the inside is uncured still. Does the clay expand as it heats up or cures? Is the raw clay underneath cured clay too unstable to support it? Some more experimenting required I think as  I would really like to be able to be confident things won't crack!

Anyway hats of to those of you who sculpt with polymer clay - how on earth do you do it without squashing and disfiguring other bits all the time I don't know!

Thursday, 24 March 2011

Feeling square

whilst at Polymer Pamper Play I made a square pendant and in one of those happy accident ways it came out of the oven slightly curved (it was baked on fibrefill). To start with I thought I might rebake it on a tile to flatten it then I realised that the curve was actually lovely. It gives it another dimension and means it sits nicely on the chest rather than sticking to you as a totally flat one might. Here it is


Slightly curved square pendant with the frayed demin pattern Carol Blackburn taught us.

I decided I wanted to replicate the curve but wanted to be able to control it rather than leave it to chance so I made myself a domed square curing block.

It seems to work, here are a couple of slightly curved square pendants
The black and white flower inspired by Toni's top again!

This one is in the colours from the Color Palette a Week group on flickr for week 10
The Color Palette a Week group week 10 palette is these lovely colours

I made my  items in the right week but didn't have time to sand and finish them. Here's the other piece I made


Tuesday, 22 March 2011

My almost entirely polymer braclet

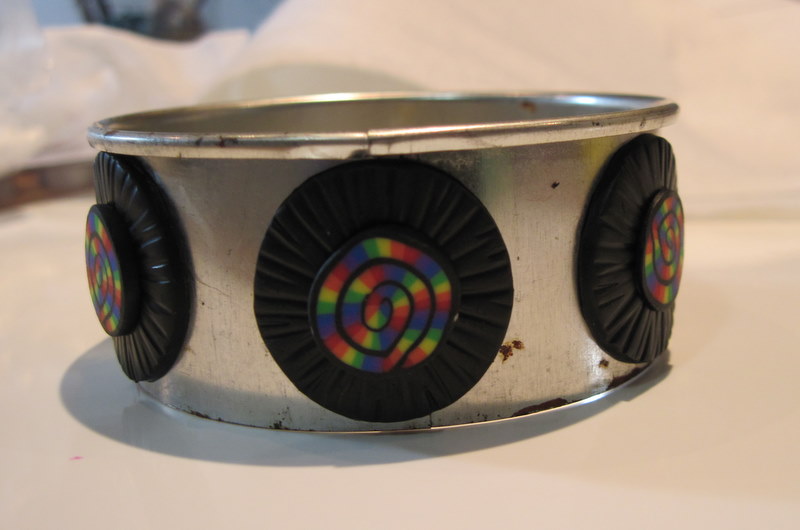
I used the spare toggle set to make another new bracelet for me! There are some glass spacer beads, some tiger tail wire to hold it together and 2 crimp beads to fasten the tiger tail but the rest is polymer!


The discs are curved, partly to match the curve of the pendant with the same design and partly so that it fits the wrist better. I chose a cookie cutter that fitted over my hand and baked the discs on it. I then lay a sheet of clay on the back, cutting out 2 channels for the tiger tail wire and another sheet of black which I textured over that to enclose the channels.

It is very comfortable to wear, it's light and fits nicely, not too tight, not too loose. I think I shall be making some more like this!!

Monday, 21 March 2011

Polymer toggles

I have been thinking about making some polymer toggles for a long time now. I like toggle clasps I find them less fiddly than the lobster type clasps, especially for a bracelet when you only have one hand to do it up with!

I first thought about making them thinking about asymetric necklaces and using a decorative toggle as feature at the front of it, still haven't tried that yet but I will sometime!

I was asked by a friend who can't wear any metal to restring an 1930s necklace of her mothers so decided it would be the ideal time to try making a polymer toggle as it wouldn't cause her any problems.

The first set I made I made the bar too short and it fell out of the hole! So I made smaller ring and a longer bar and then had 2 pairs that work effectively (i.e. stay done up!). I made them so the tiger tail I was threading the necklace with would thread through them. I reinforced both the bar with a length of wire and the ring with a jump ring, on reflection I don't think the ring will need reinforcing. 

polymer toggle clasps
As you can see I textured them to save sanding ;) The necklace I was restringing is lovely and I have a half made polymer reproduction of it. Here is the restrung necklace - my only work in the addition of the seed beads to lengthen it and adding the polymer toggle. Not quite sure what the rest of the necklace is, to be honest it feels a lot like polymer clay but it's 80 years old and I am sure it wasn't invented then!

An old 1930's necklace, restrung and with a new polymer toggle.

Friday, 18 March 2011

Latest jewellery - and it's all for me!

I haven't had any new jewellery for myself for a while now, I was busy making sale stock and completing orders. So far this year things have been quieter so finally made myself some new things. Here's some of them

3 blue and white skinny bangles. I am road testing these to see how they strong they are. Baked them extra long to try and make sure they were strong!

Blue and white oval cabochon pendant, I do love this simple blue and white flower cane. This is the second batch of the cane I've made and I can see I will be making more.

The blue and white colours are also the colour palette for this week in the Flickr Colour Palette a Week group - do come and join in with whatever medium you craft in.

Hollow beads made using the technique I learnt on Christine Dumont's Hollow Bead Workshop. She is just about to start an online workshop for these beads so follow the link and check it out.

Hollow beads strung as a necklace


I've more to show you tomorrow. Hope you all have a great weekend
Cara


Wednesday, 16 March 2011

Photo set up further improvement - stage 2

A while ago I posted about trying to take better photographs of my jewellery (read my stage 1 photo set up post here). Well finally I got my hands on a suitable cardboard box and have made a light tent

The light on the left of the picture has a 100W equivalent (it's energy saving so actually only 25w) daylight bulb in it, it's my normal work bench light. The light on the right is one of my show set up lamps and I thought I could put another 100w daylight bulb in it but alas it has a tiny screw fitting so it doesn't fit. I will need to find another lamp but the show lamp will do for now.

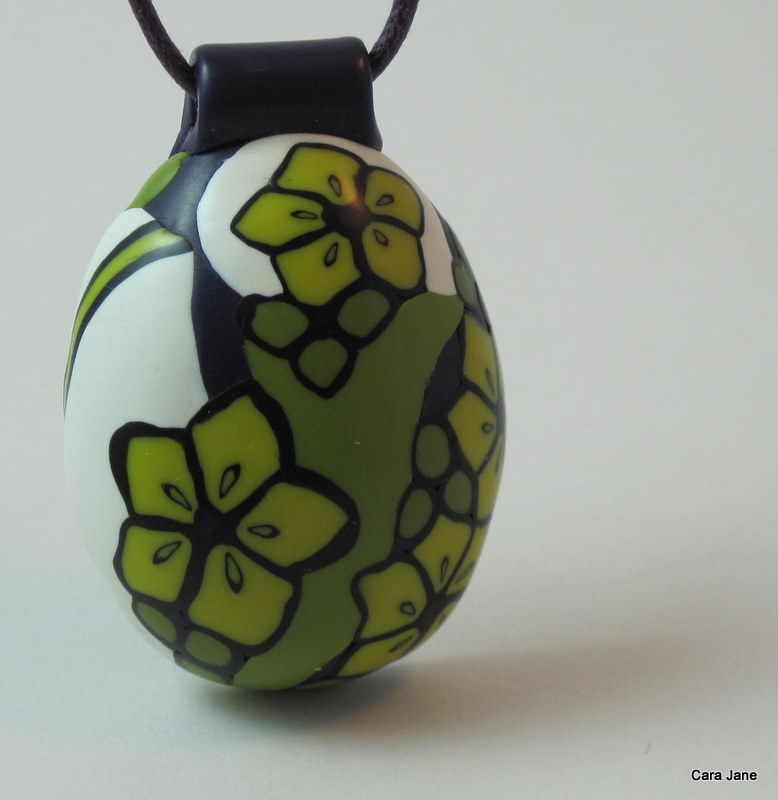
Here's a couple of shots of that pendant I made to match a new top a while back (I did promise a close up picture so here it is - rather over due - sorry!)
This shot was taken with me holding it up by the cord, you can see a yellow spot which is the from the 'wrong' lamp.

Lightbulb box with white felt draped over it supporting the pendant

Here's that top again as I am sure you don't remember it!
I am pretty chuffed with the photos I've taken, so I move onto the final stage in perfecting the photos - getting that second lamp and finding some staging items, or at least supports for jewellery.

I've got so many  more things I want to show you, new jewellery, new ideas, new textures but I can't sit here at the computer all day so I will post some more tomorrow.