Showing posts with label flower cane. Show all posts

Wednesday, 16 March 2011

Polymer Pamper and Play was Perfect!

Wow what a weekend Polymer Pamper Play was!  It was so well organised, Rebecca and Debbie had thought of everything! It was a great group of friendly and talented ladies and it was great to get to know you all a bit better. The best thing was staying all together in the same place, sharing meals together, having time to talk and being able to play with our clay before breakfast, in the middle of the night.... Wonderful!  There are some pictures from the event on the Polymer Pamper Play website here.

Here's some of what I made in the workshops

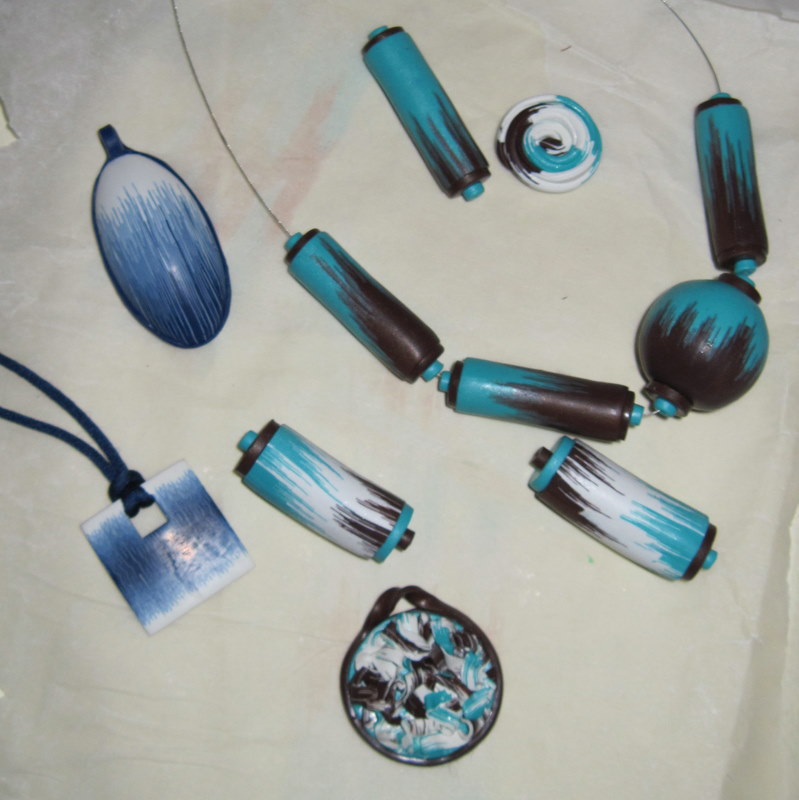
Carol Blackburn's Ikat beads workshop.

My favourite two pieces, I think you will be seeing more like these!

Christine Dumont's Butterfly Bead Workshop

Christine Dumont's Butterfly Bead Workshop

Another inspiration came from my dear friend Toni's top -I shalln't embarrass her with a photo of her but here's her top

Here's the pendant I made at the event

I wasn't   happy with how the cane worked out - once I had started on a small element I realised quite the scale of it and dramatically simplified it. I made a construction error and due to the warmth in the room wasn't able to pull the pieces apart (you often can with Kato) so had to reduced the irregular shaped petals fully constructed which lead to a lot of distortion. I like the overall effect of it and can't wait to make some more black and white flower canes!

If you live in the UK you really should come to the 2012 Polymer Pamper Play, it really was blissful on all levels as advertised! Thank you so much Rebecca and Debbie for organising it, can't wait til next year!

Tuesday, 4 January 2011

Charming

A friend of mine was admiring my charm bracelet but doesn't wear bracelets so asked me to make a necklace for her. The original idea was to just add a bit of chain to either end of a bracelet but I made the charm section quite a bit longer in the end so it didn't look 'mean'. There are 6 different types of pearl and crystal beads in turquoise and green to pick out the colours on the petals. I am pleased with how it turned out (although I think I may have found a possible improvement, yes it could be even better lol - I'll try it out and let you know)
The charm necklace

Here's a closer view

Charm bracelet in same colours
I must thank Zuleykha for the inspiration and tutorials on her blog for this style of bracelet, I am a great admirer of her charm bracelets.

Thursday, 4 November 2010

Flower charm bracelet

I started this bracelet sometime ago but felt it needed something more, something to brighten it up. I had lots of great suggestions from arty friends and in the end I decided to add the yellow beads you can see to match the yellow of the flower centres. I would have put some little crystals inside the flowers but I had already wire wrapped them onto the bracelet by then and didn't fancy doing it all again!

I will show you my new matching pendant up close tomorrow and I've got some custom orders to show you too.
Till then...
Cara

Tuesday, 16 March 2010

Brand Comparison (sorry if you have seen this already)

For years I used Fimo polymer clay which is readily available here in the UK. Recently I found Cindy Leitz and having read a lot on her blog and seeing her beautiful colour mixing recipes I decided I ought to try Premo clay. There are some discussions about brands on Cindy's blog here. Being a fan of Donna Kato's work and having her excellent book I decided to try Kato polymer clay at the same time.

Here are some photos and notes about the different brands of polymer clay I tried;Kato, Premo, Fimo Soft and Fimo Classic.


First findings:
Kato - Very crumbly as it came out of the packet. Had to work it to warm it up before I was able to run it through the pasta machine. Firm, more difficult to shape. This polymer clay has quite a strong smell.

Premo - Very soft from the packet and was able to put it straight through the pasta machine. Soft to work with.

Fimo Soft (my normal brand) - Soft from the packet was able to put straight through the pasta machine. Very soft to work with.

Fimo Classic - I found this much the same as Fimo soft which surprised me. It wasn't quite as soft when first out of the packet but after being passed through the pasta machine a few times is was just as soft as the Fimo soft.

Flower Cane
First of all I made a Spliced Flower Cane in Blue, White and Green. I tried to keep the colours  the same as possible but didn't go to great extremes of colour mixing (I'm not that good at it - yet!)

 
Kato, Premo, Fimo soft and Fimo Classic (from left to right)
The top row was a slice cut with a tissue blade just after the cane was finished and the bottom row is the same brands cut after a rest (overnight).

I realised that my blade wasn't as sharp as it used to be but this didn't seem to matter for the firmer Kato clay. I am sure I can improve my cane slicing technique (and I have also since bought a new blade).

I can see very clearly that it pays to leave your clay to cool down before slicing what ever brand you use. I know many people recommend putting it in the fridge for a while - I must try that.

Wow the difference shocked me - the Kato one (made in exactly the same way) looks very different. I accept there may have been a slightly larger area of white in the middle but even so the definition that the cane retained is far superior.


A closer view of the Premo and the Kato flower cane slices

Geometric Cane
I realised that the spliced flower cane wasn't a completely 'repeatable' cane so decided to make a simple geometric cane to see how that turned out.

 
From left to right Kato, Premo, Fimo Soft and Fimo Classic
Again top row was cut straight away and the bottom row was cut the next day.

As I was making them I thought the fimo looked different but couldn't work out why - hmm I realise now I only did half the job. Not sure what happened to the next day kato sample but needless to say it looked much the same, insignificant deformation.

Although the difference wasn't as marked as the spliced flower cane - I still much prefer the results of the kato. I like the feel of the baked kato too.  The Kato white is more white and I think part of this is being firmer it stays cleaner.


 A close up of the Kato and Premo canes

Conclusions

As I was working the  spliced flower canes I thought I would prefer the Premo. I didn't like the work needed to condition the Kato clay and it was much firmer to work with even when thoroughly conditioned. The firmness is sometimes a disadvantage and sometimes an advantage. It was a disadvantage making the splice flower cane in the pinching the sides down. Also squashing the cane stacked quarters into a flat piece was quite physically demanding with the kato clay. At other times the firmness was an asset, cutting the bullseye canes into quarters was easier, less deformation. Things held their shape better and weren't floppy as they were with all the other brands at times. There was much less waste with the Kato et every stage. Even making skinner blends there was less waste from the Kato as it distorted less.

It is very much a personal preference and all sorts of things will effect your choice from where you live (temperature and also I gather some of the brands have slightly different formations in the states to UK), how you buy your clay (I have to buy Kato online can't get it in any local shops in the UK), the strength of your hands, what you like to make, how you work etc. Also if you don't want to mix colours the Kato range is rather limited.

However after I had seen the sliced and baked canes my mind was set - I'll give this Kato clay a go. I will probably invest in a little chopper to aid conditioning it isn't something I enjoy but I would say the results make that extra effort worthwhile. 

I am currently wriritng an article on conditioning Kato clay having tried out several different ways - coming soon.....

(when I first set up this blog I didn't understand how it worked and made this as a separate page. I have decided to post it here too in case people missed it on the other page - there are some comments on the separate page version which I can't or at least don't know how to copy over)

Thursday, 4 March 2010

Paisley Cane Project

So for the first time ever I have sat down and properly planned a polymer clay project, normally I have a rough idea and just sit down with my clay or pick a tutorial to follow. I wanted to make a set of decorated handle cake forks for my sister in law. She is married to an Indian and has her dining room decorated in an Indian theme and she has recently returned from a holiday to India so I decided to make them based on an Indian theme.

I browsed some images on the internet and collected together some of my favourite and looked at the colours. I liked the bright colours and  settle on a palette to use in my project and even made a contrast table (as suggested in Color Inspiration).

Here are the colours I chose, all custom mixes (chosen from my colour tasting tiles held up against the images I printed) with the exception of the yellow which is straight from the packet. There is a recipe on the back for each colour. This is Kato clay by the way.


I then designed the clay 'fabric' I would make to cover the handles. I decided on a Paisley cane and even did a sketch. I tried to work out roughly how much I would need to make a cane the right size. It would be terrible to run out! I will also use the components from the paisley scattered amongst it, the leaf and the flower.

I started by making a flower cane, I backed it with purple as that will be the base colour of the fabric.


I then started using my drawing to  make the cane (I have always just made it up or followed a tutorial before)
I had meant to make the centre of the Paisley a different colour, possibly white. I meant to make the petal cane and then construct 2 different flowers with different backing  but I forgot and only made one flower cane and that was backed with purple - so purple it was... 

Packing in place for main part of cane. It is going to be reduced pretty small to fit on the fork handles so thought the black outline would help. Probably some of these shapes are too small.
   It was a close call with the orange. I ran out of red Kato so couldn't mix any more. Luckily  by using skinner blend logs I had enough. More red ordered and should be here by the weekend!
The cane ready for reduction. But how should I reduce it? I am off to experiment with the different techniques and will report back.

Monday, 1 March 2010

Thank you Zuleykha

Thank you to Zuleykha for featuring my flower cane on her blog but I couldn't have done it without your tutorial!
My first curling petal cane

In case anyone wanted to know I used Premo Turquoise  for the cane and the darker colour is the same turquoise mixed with a little black (perhaps I am not so bad with colours after all ;)

I still think your curling petal cane is better.
 One of Zuleykha's curling petal canes

Sunday, 28 February 2010

Polymer clay cane tutorials put to the test

For the review please see the post on my new blog -  ww.carajane.co.uk

I have found and used lots of free polymer clay cane tutorials on the internet, thank you to all those clever people out there who share their knowledge.

For a while I have come across tutorials that you have to buy and I have always wondered if it would be worth it. Well one day I decided I would splash out and give them a go. I have been delighted with the canes I have made and I hope I can now take what I have learned from these talented artists into some amazing creations of my own.

The main difference between these tutorials and the ones people share freely is the level of detail. They are complex canes and there are many pages of photographs to make sure you can follow them easily.

I have bought 3 now and love them all.

For the review please see the post on my new blog -  ww.carajane.co.uk


For the review please see the post on my new blog -  ww.carajane.co.uk

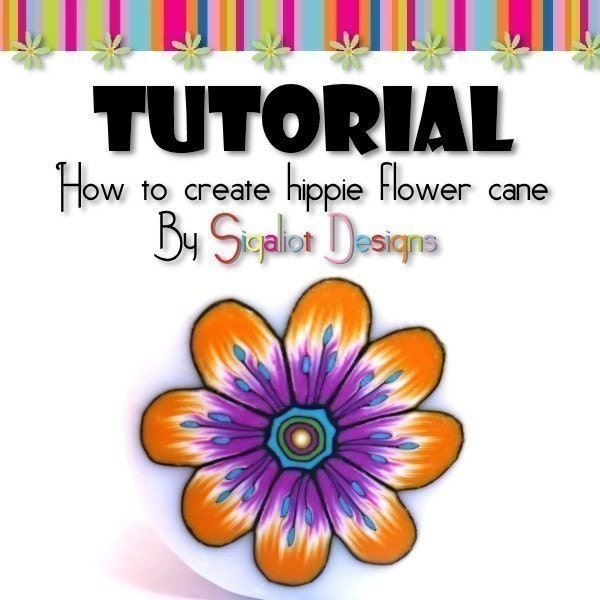
My Hippy Flower Cane Tutorial from Sigaliot Designs 


My Flower with curling petals cane tutorial from Zuleykha


es.
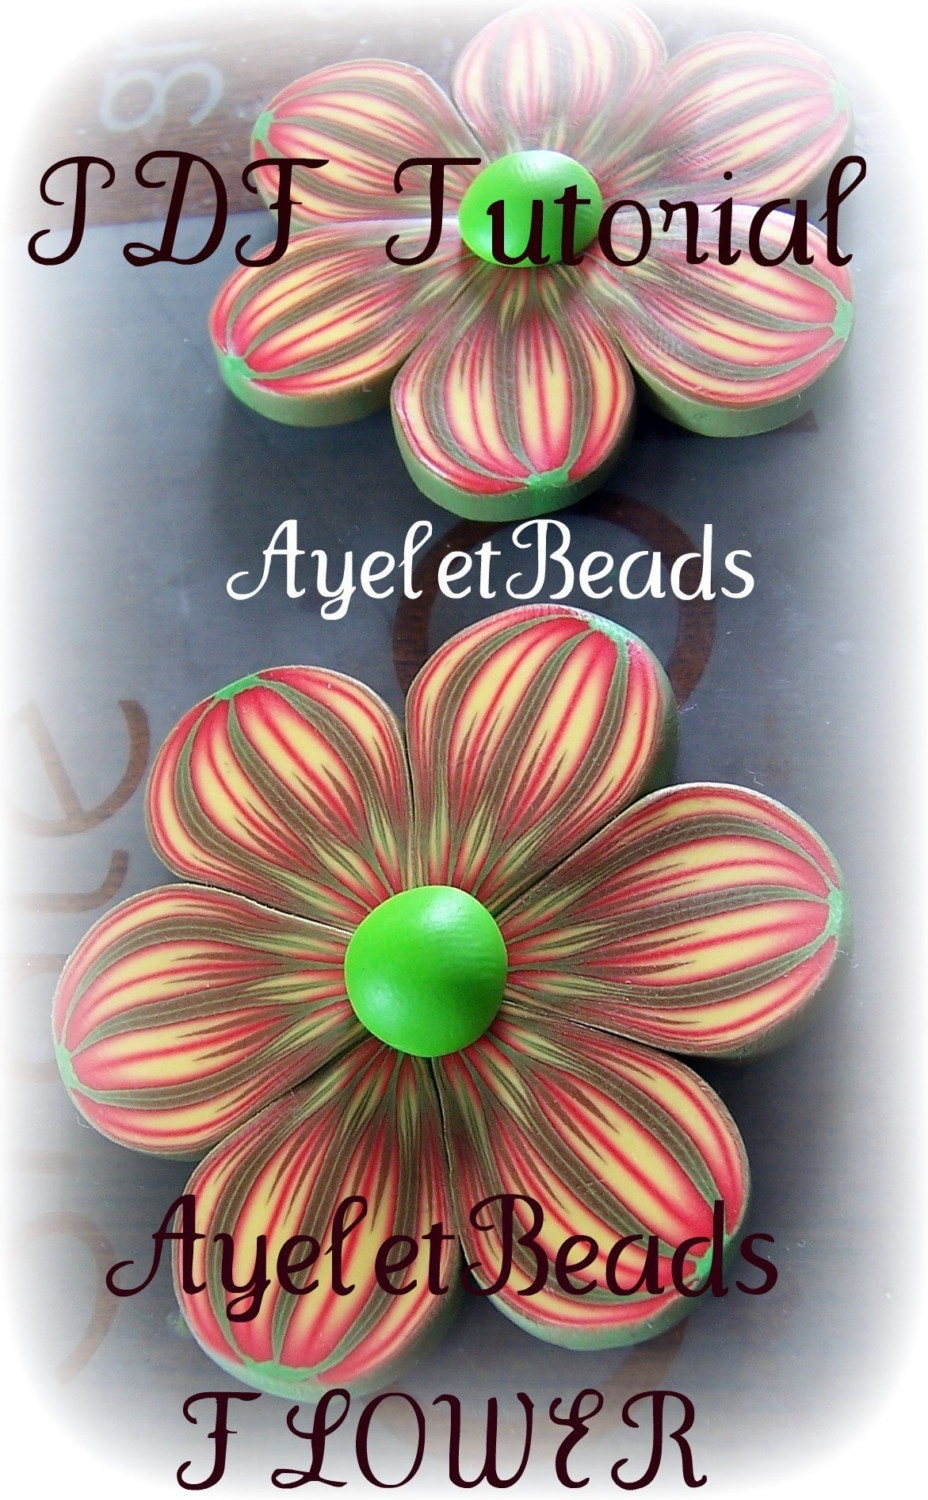
 My Ayelet beads tutorial flower


For the review please see the post on my new blog -  ww.carajane.co.uk

Saturday, 27 February 2010

Brand comparison

I have finally written up my polymer clay brand comparison trials. You can find them on my blog here

For me, for making canes I am now sold on Kato. The clay is very firm which helps to keep good definitions in the cane (once you have made it workable).

Here is one of the canes I have made from Kato clay.
 
This is a pendant with a crystal added to the centre


A smaller slice made into a simple bead

This cane was made using a tutorial I bought from  Sigaliot Designs Etsy Store.
It is a great tutorial, very clear and easy to follow and I was stunned with the results I got first time. It is also a beautiful tutorial Sagit has really taken time and effort over it. You can see more of her work at her blog http://www.sigaliotdesigns.blogspot.com/

Thursday, 25 February 2010

Some more things I made in the past

Black, white and red heart. I made this with some cane ends and I love it. It just sits in a box of baked fimo bits. I ought to find something better to do with it!
Made May 2008


Heart shaped keyring. Made May 2008


A panda I made for a friend. Made March 2008